Pride Month is approaching fast!
Bellacures Nail salon shares how they created Pride-inspired nails looks. The tutorials will help you recreate these looks for your customers.
Skittle Manicure
Celebrate Pride with Colorful Manis!
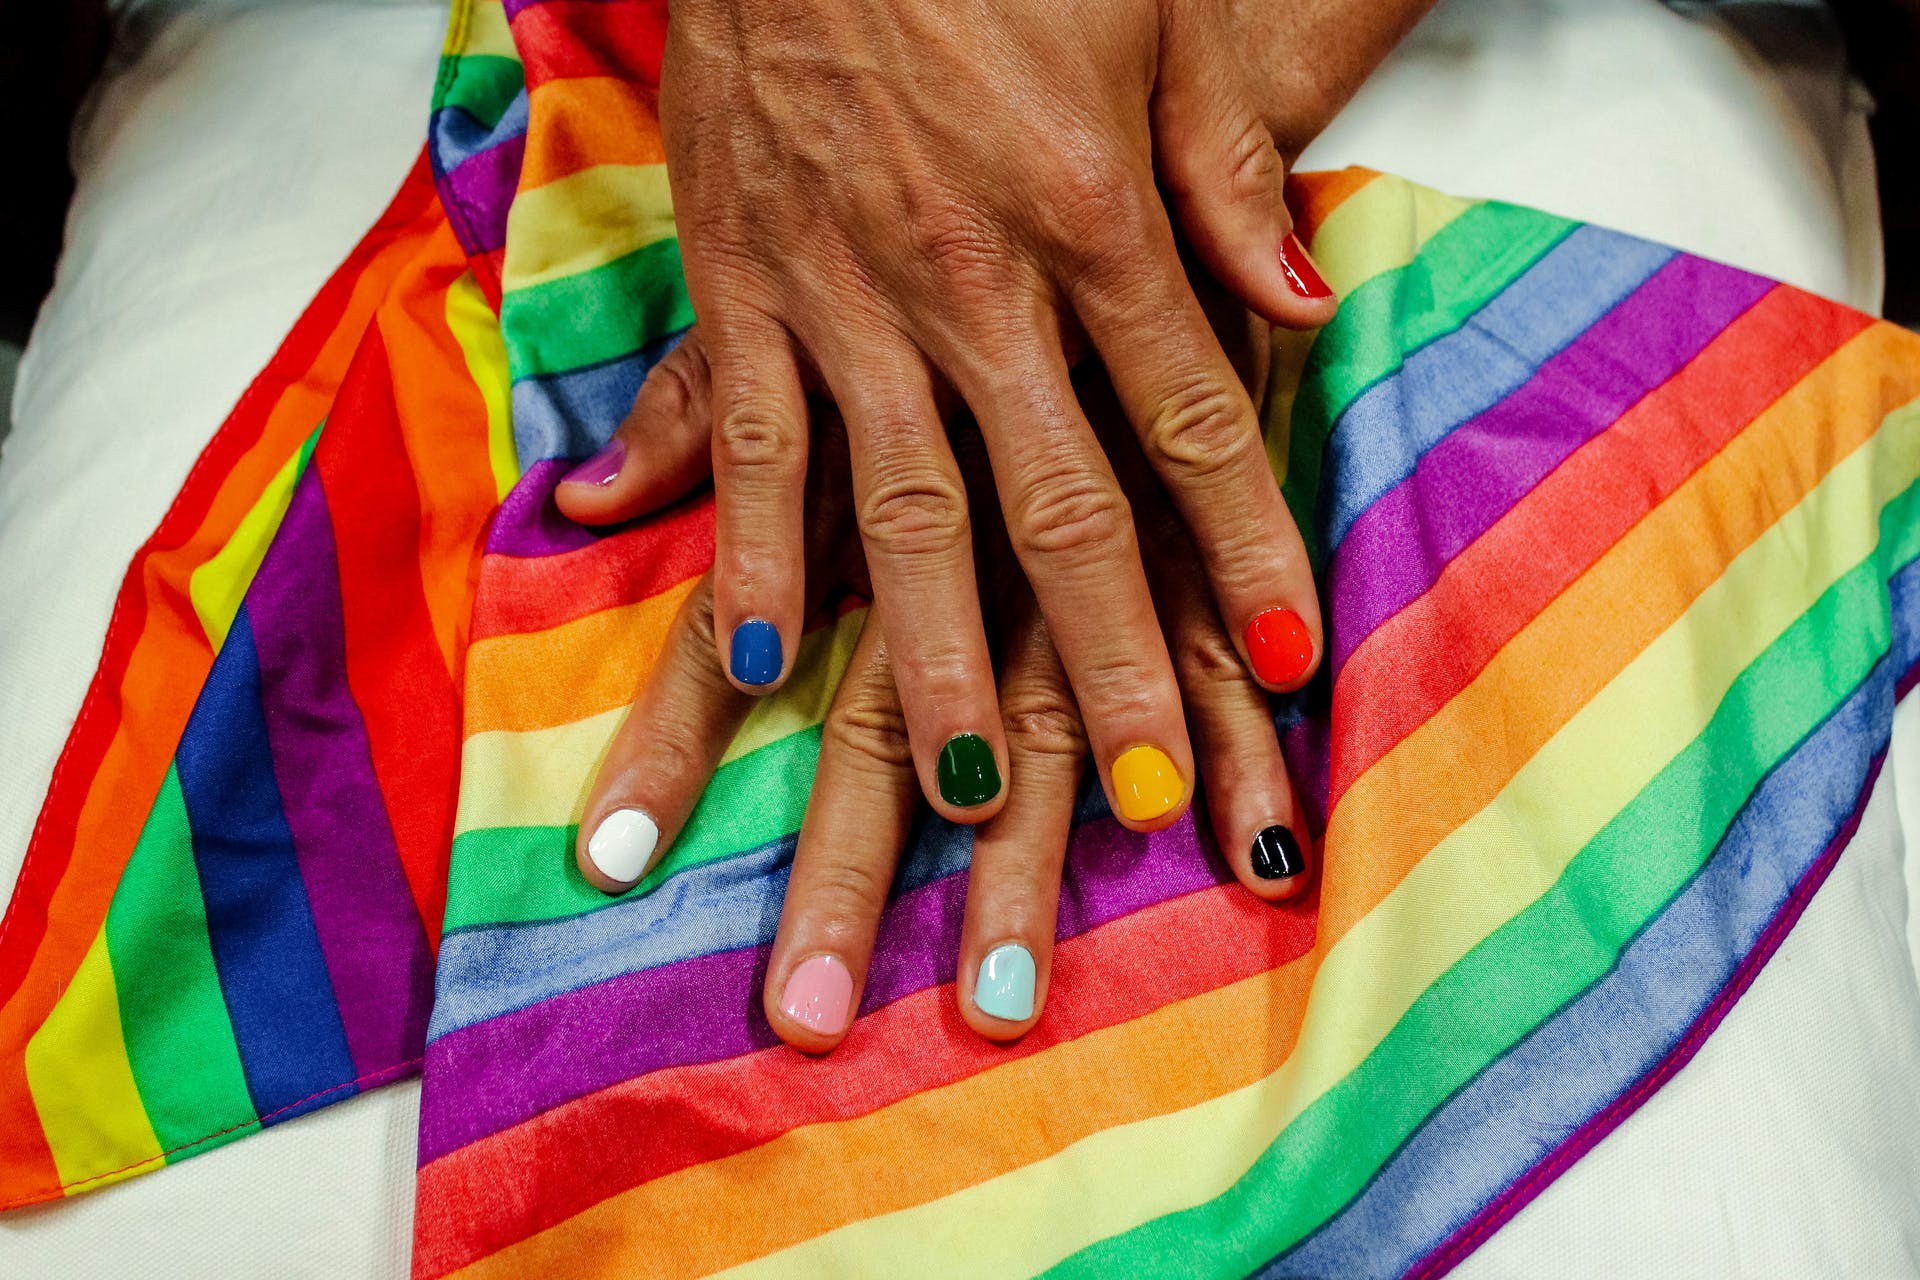
- Start by shaping your client’s nail to the desired shape. Then, complete cuticle treatment.
- Then, using your rainbow nail polishes, coat each nail evenly.
- Let the polish dry and then apply a second layer, making sure you polish the tips. This will reduce the chances of chips and ensure a longer-lasting manicure!
- Finish with a cuticle oil and top coat for maximum shine.
Rainbow French Tips
Include these rainbow-colored frenchies in your June beauty routine to show your love and support for the LGBTQ+ Community!
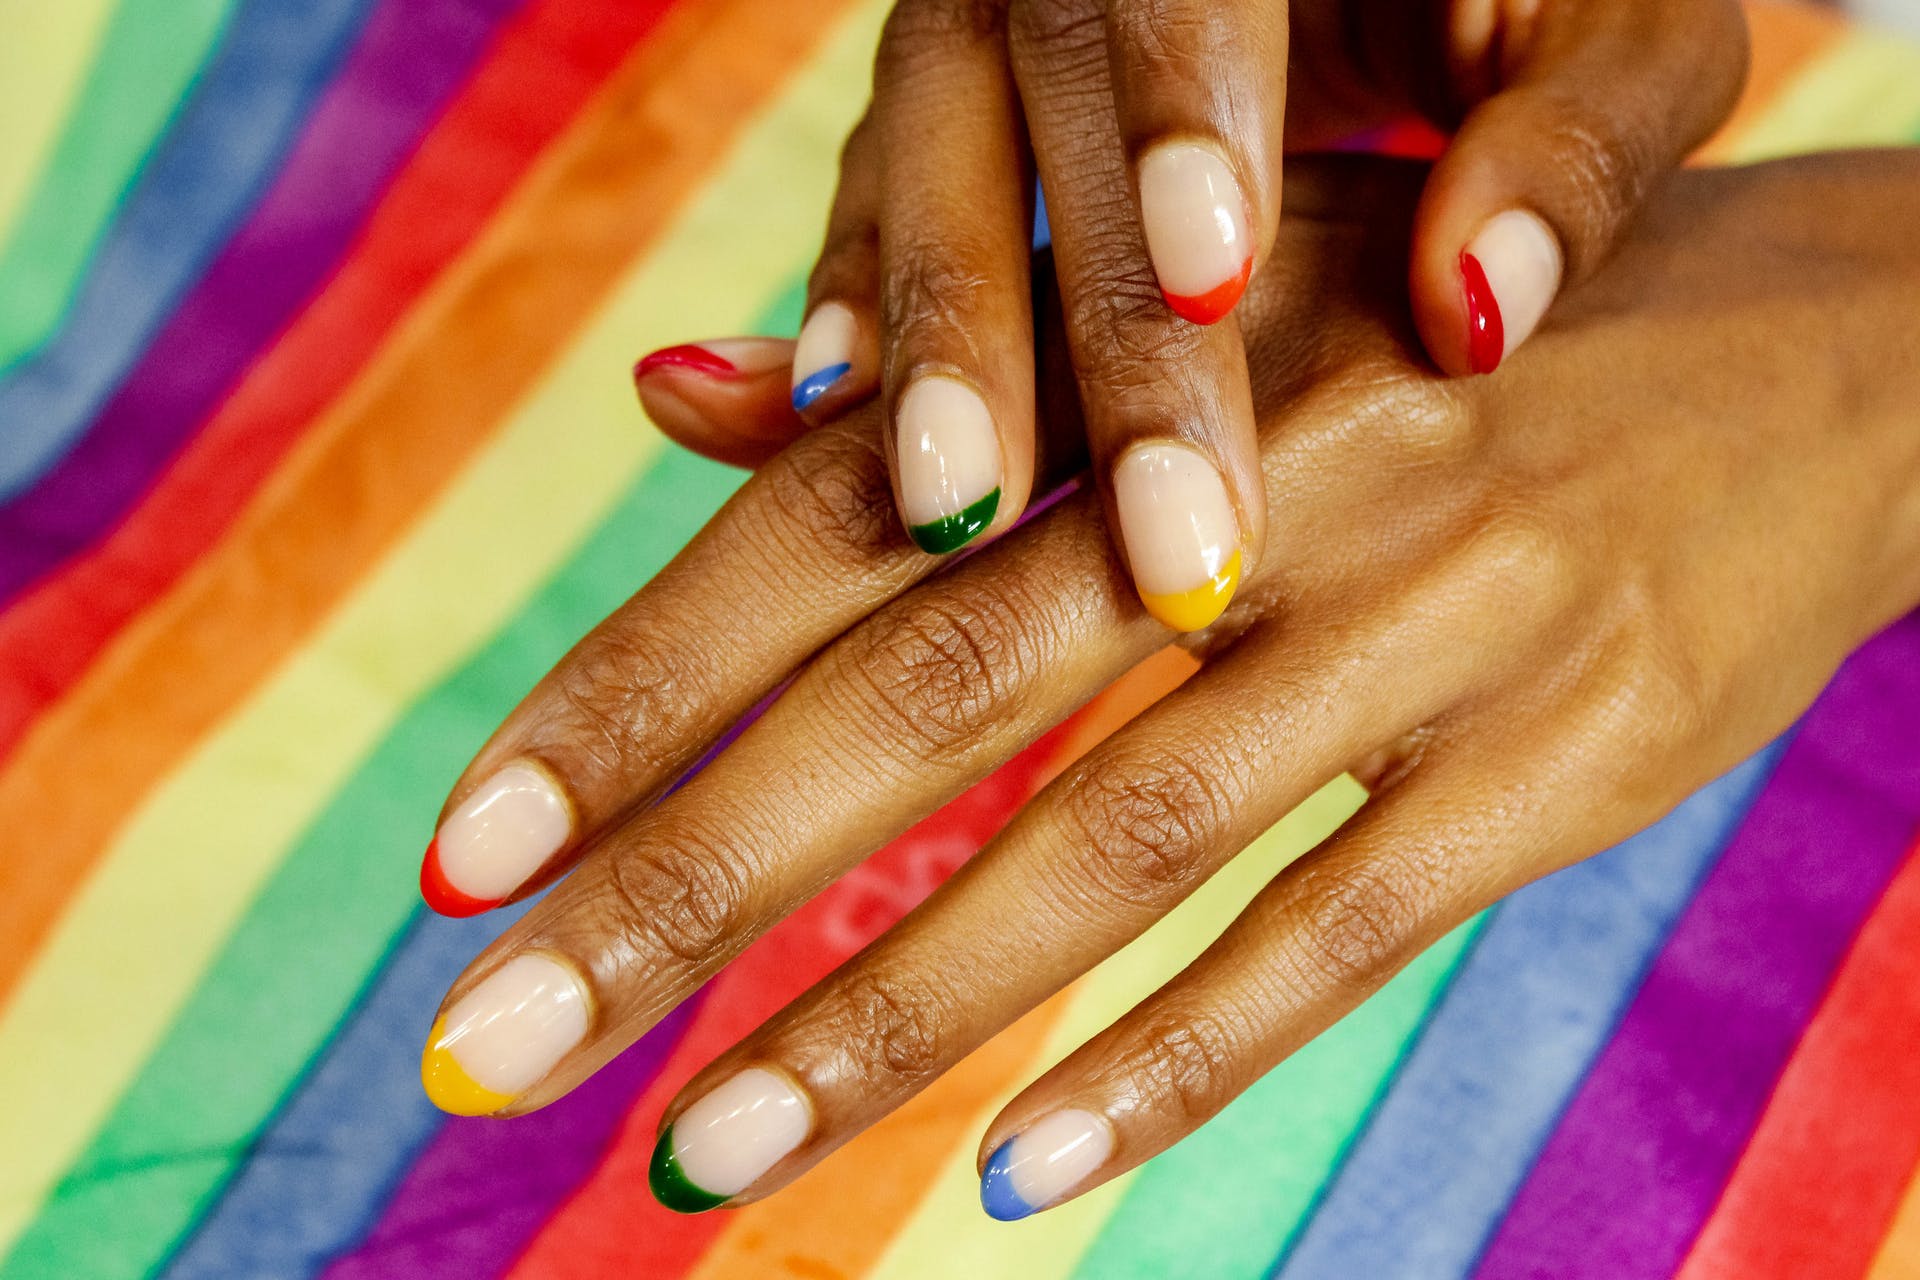
- Start by filing your nails into an almond shape and complete the cuticle care.
- Then, choose a base that matches the skin tone of your client. Allow the two coats of nail polish to dry between each application.
- After this, transfer your rainbow polishes to a thin-lined brush and switch colors between each nail. Draw a quick curved line between the edges and the tips.
- After the first coat has dried, apply a second one to ensure that your Frenchies look bright and shiny!
- Finish with a cuticle oil and top coat for maximum shine.
Rainbow Accent Nails
This June, express yourself or show your support with a fabulous and subtle Pride manicure!
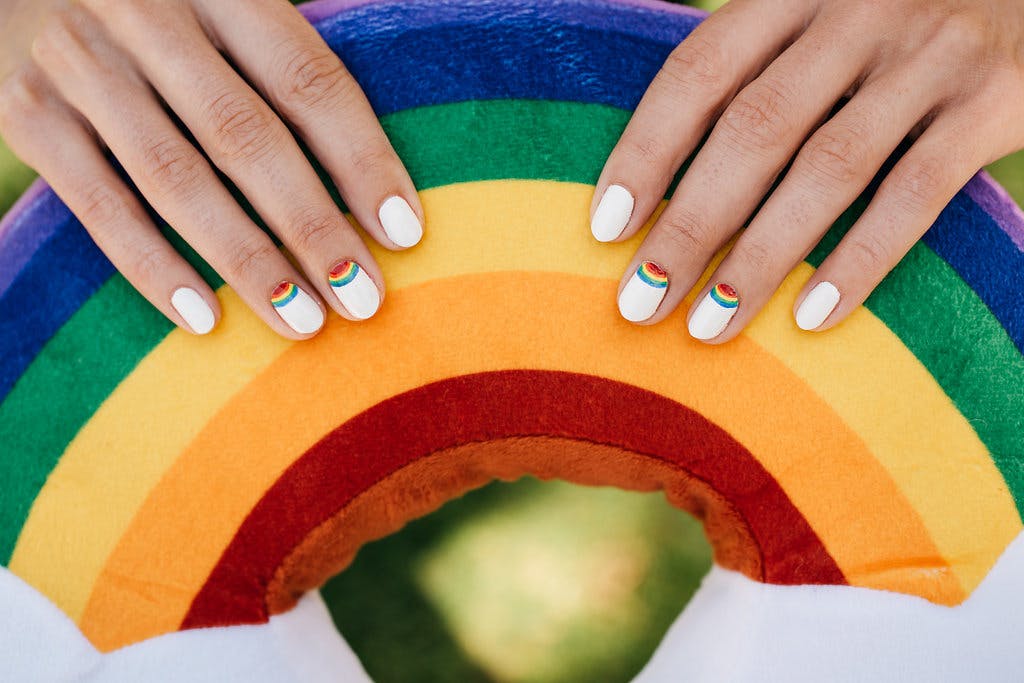
- For the desired look, start by forming the nails into a rounded soft shape. Then finish the cuticle treatment.
- Apply two coats of white nail polish evenly to the base. Allow time between coats to dry.
- Take four different rainbow shades, starting with red. Apply them to a thin brush. Apply the red color to the base of your nail bed in a softly curving shape, from one side of the edge to the other. Fill in any gaps.
- Once you’ve created an outline, draw a thin, overlapping line between the orange, green, and blue colors.
- Finish with top coat, cuticle oil and a shiner for the best results!

