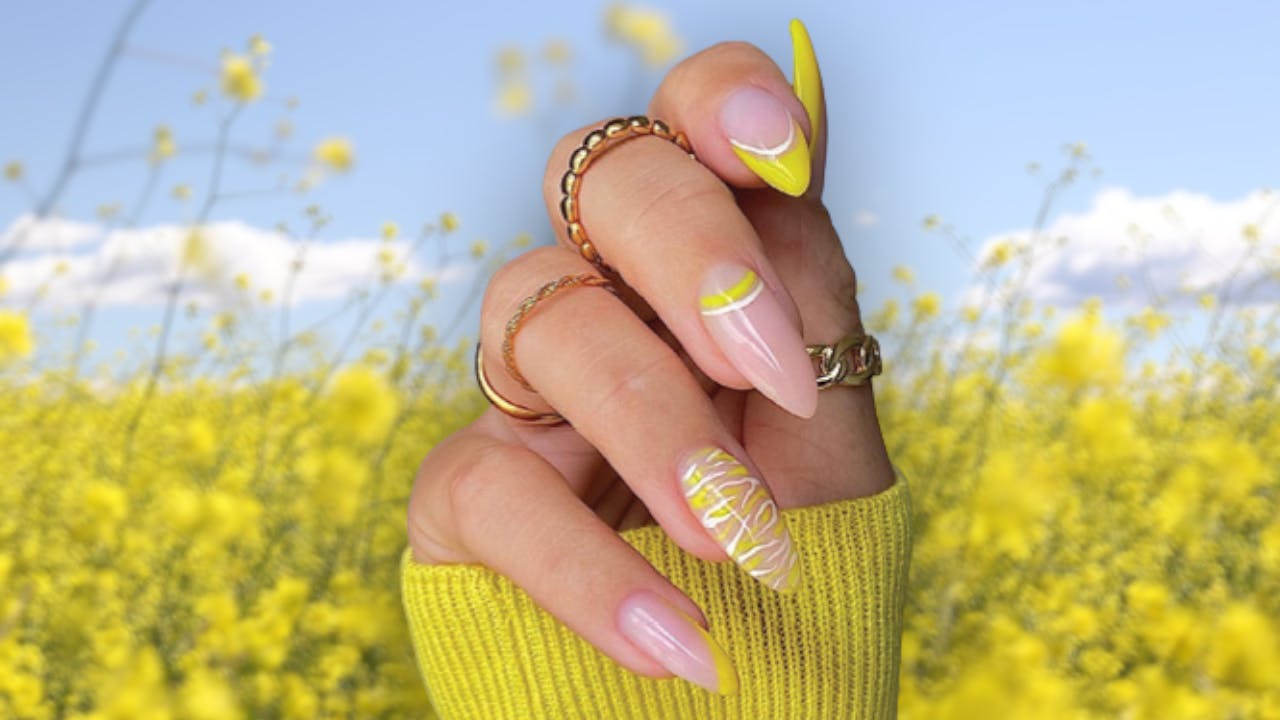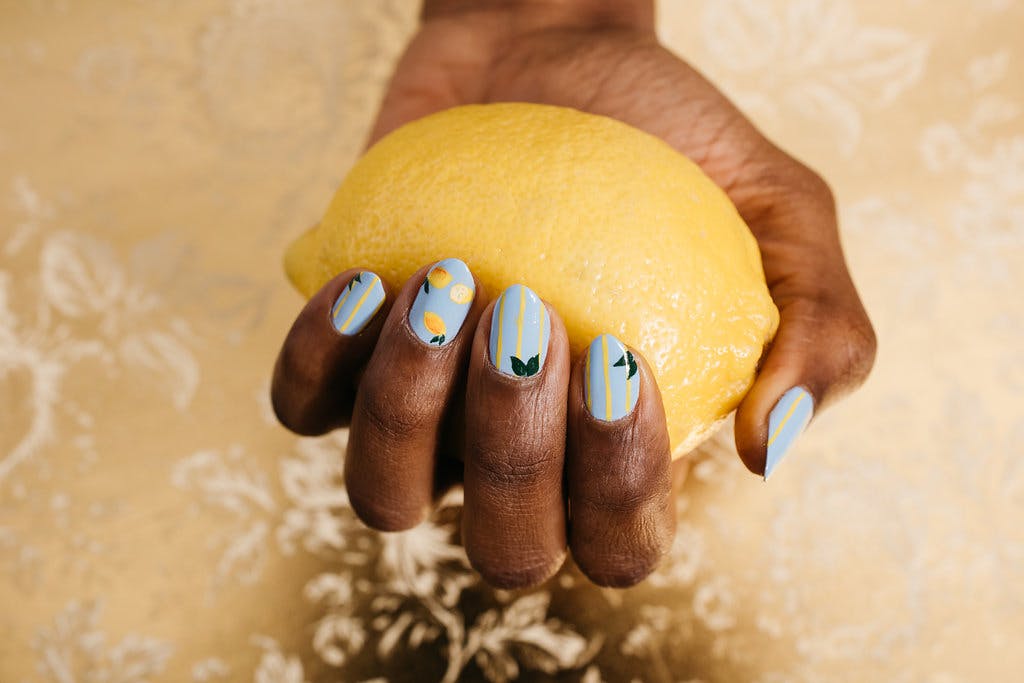
Some nail trends are resurrected. The latest nail trend to make a comeback is blooming gel.
Blooming Gel is a clear gel polish similar to a basecoat. When painted over the nails, it creates an effect of blooming to any design. Discover how to use this product for fun and stylish nail designs this spring. Below, Abigail Tovar (@abigailsviewofbeauty) shares her tips and tricks and gives advice on how to use blooming gel.
How-To:
You’re missing out if you haven’t tried blooming gel!
Incorporate blooming gel into your nail art. Blooming gel is just what it sounds. It helps gel bloom smoothly.
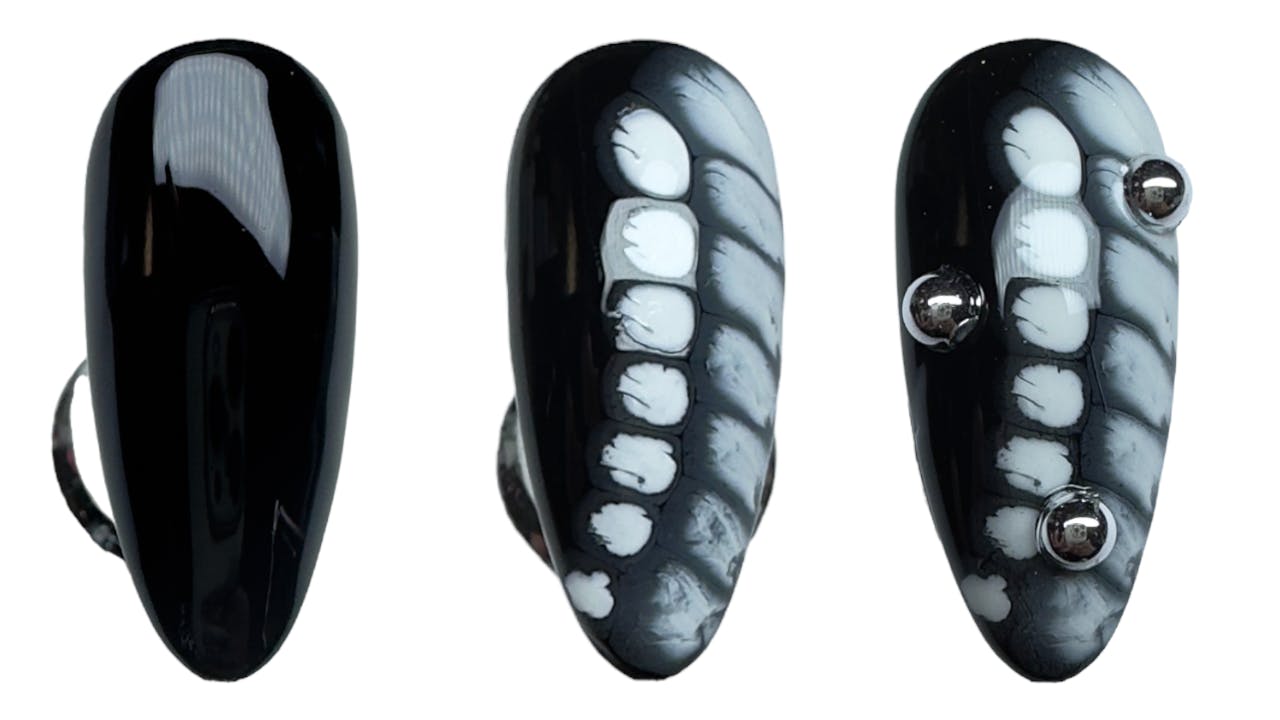
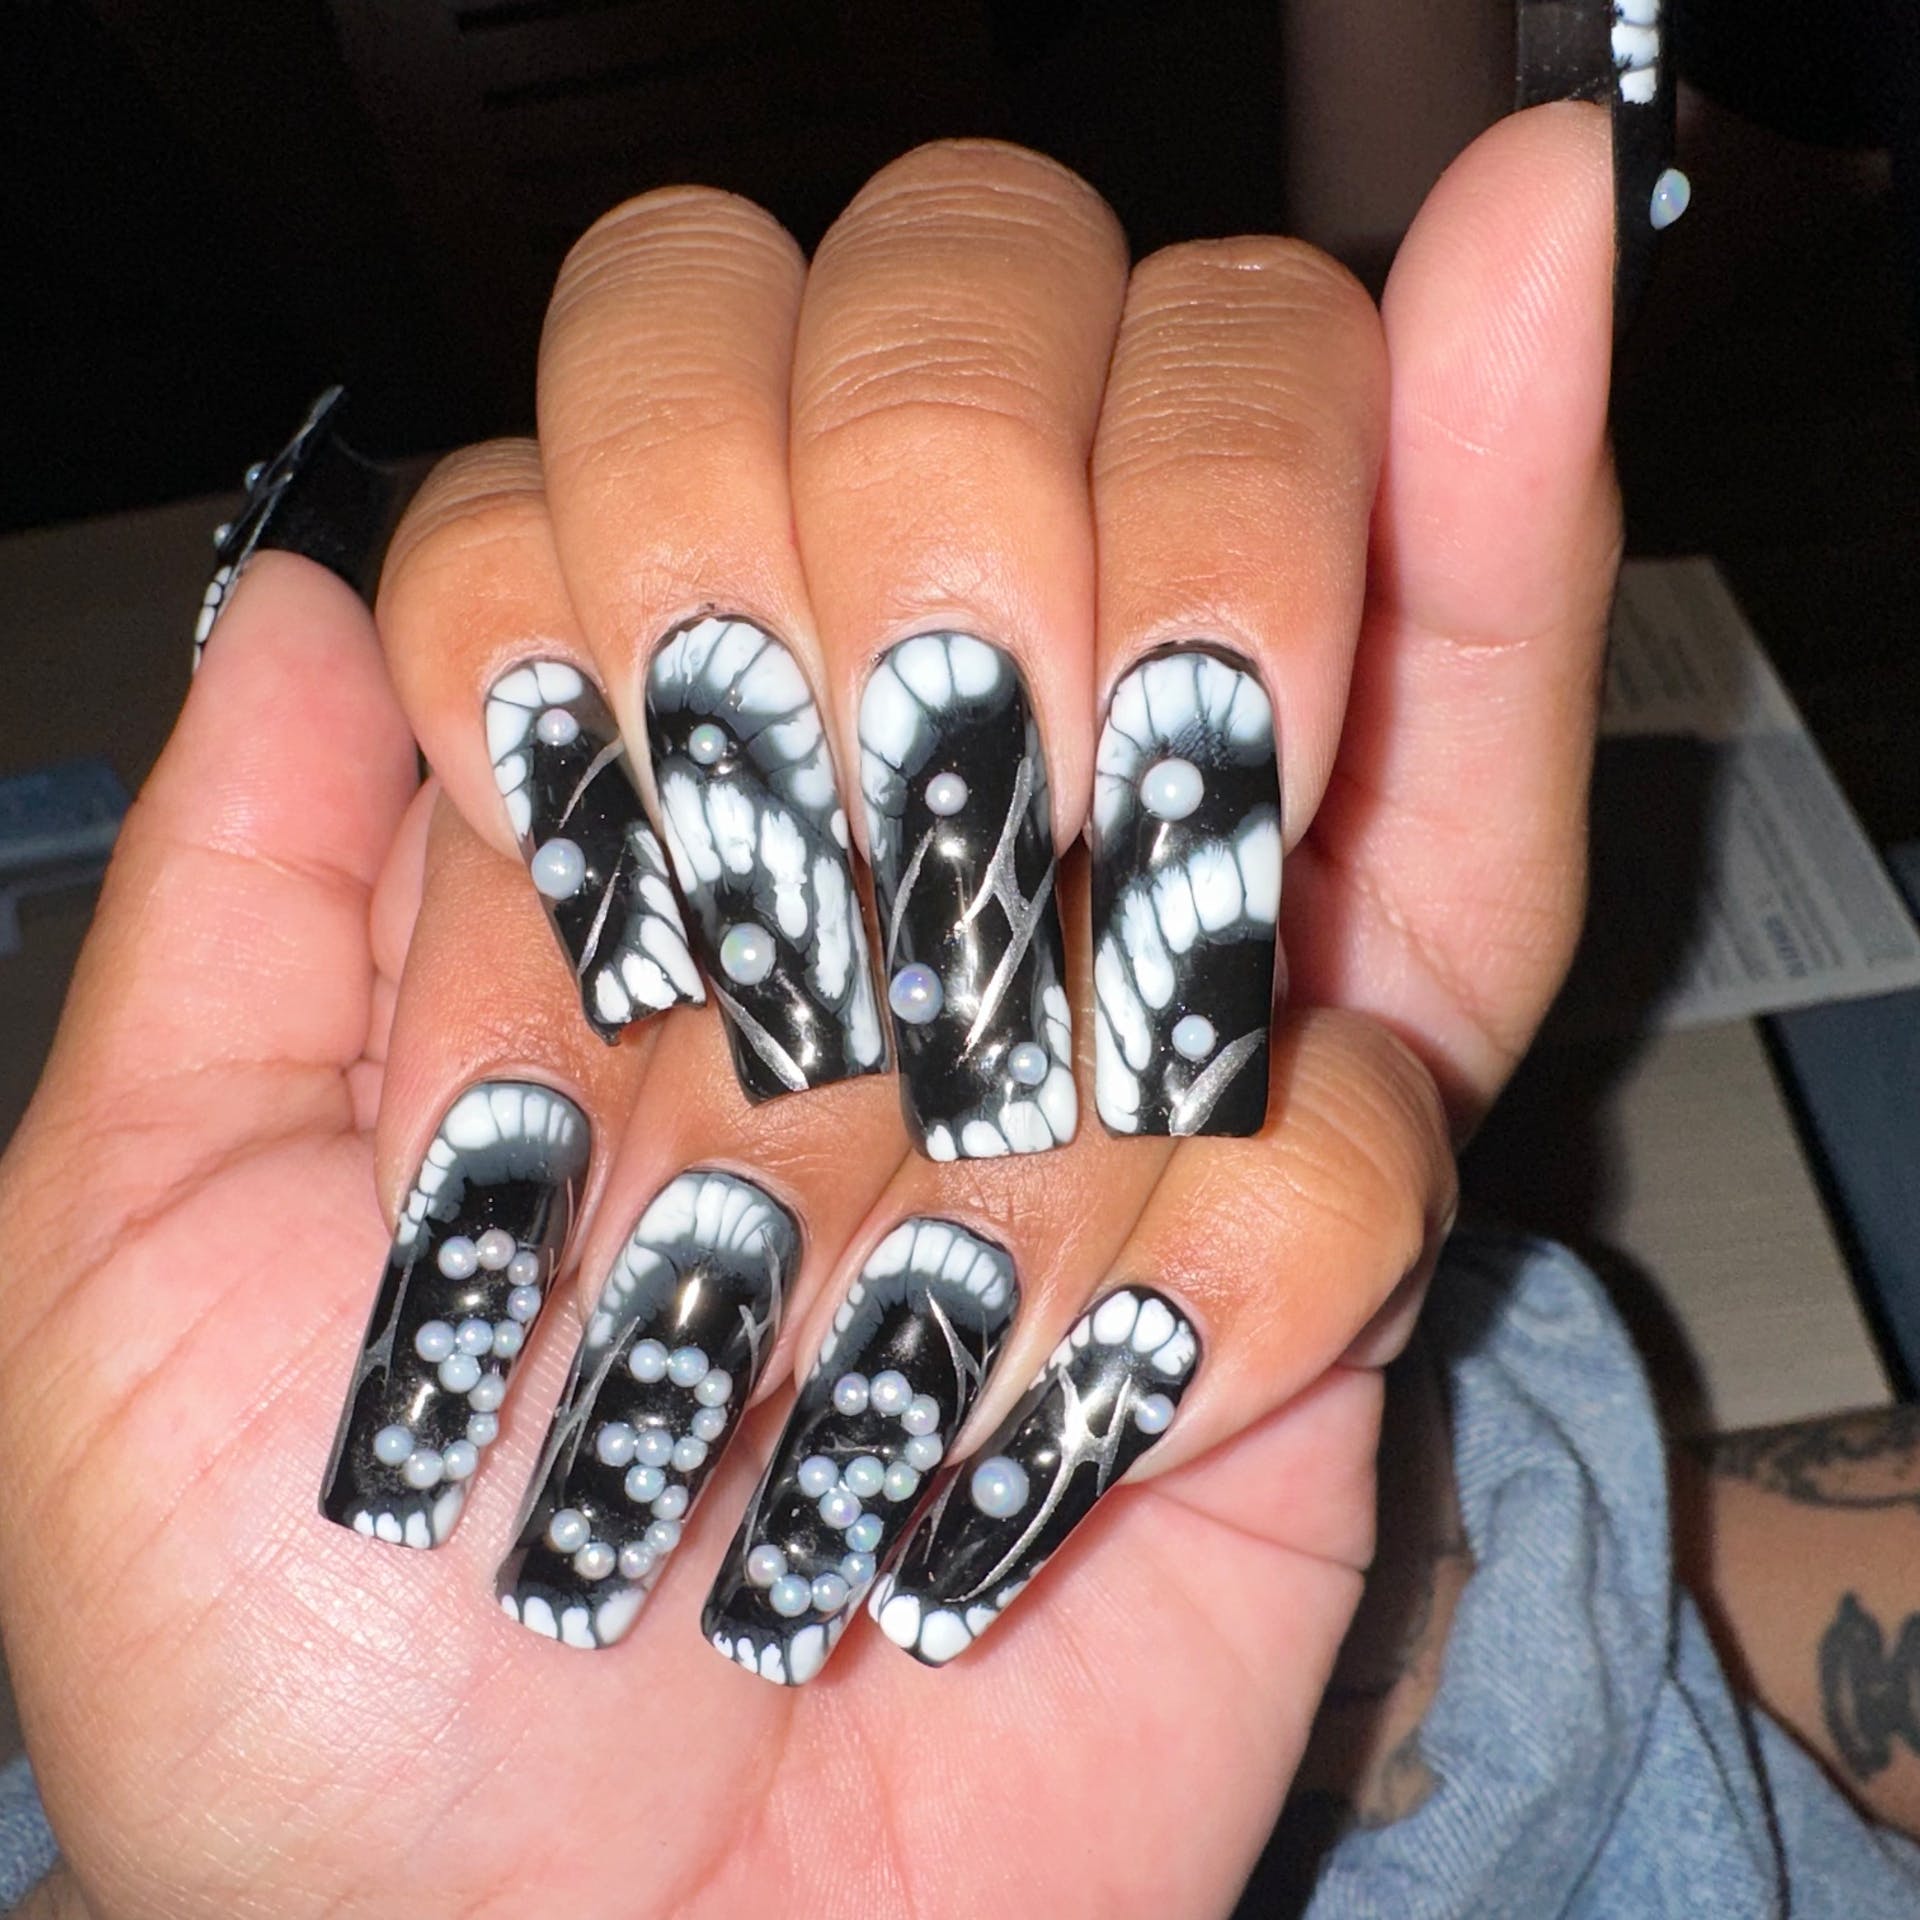
It can be used to create many different designs, including marble, abstract, snake print, flower, and tortoiseshell. Abstract art is my personal favorite. I like to drop blobs and let the gel do its work.  Finished blooming gel nail art from Abigail TovarCourtesy of @abigailsviewofbeauty
You should apply two coats to your base color before applying blooming gel. Before applying blooming gel, make sure that your base has been completely cured. Do not cure your blooming gel before applying the next layer.
You can drop another color over the blooming gel while it is still wet. This will concentrate the color in the area you desire. You want to choose a color which stands out against the base. I like to use white or a bright color gel on top of black.
You have to be quick to avoid the design from spreading too much.
When you apply gel to your nails, the more surface area it covers and spreads on the more gel you use on the brush.
When you’re happy with the way your gel has grown, you can cure it by placing it in a lamp. If you want to add more layers to your blooming effect, repeat the process.
After you have finished using the gel, add a thin layer to smooth out everything before adding other nail art. To finish my abstract look, i always add some kind of gem to the top.

