
The summer is quickly approaching and it’s time to start thinking about nail trends!
You’ve come to the right place if you need inspiration! Rianna Basurto shares below three summer nail designs tutorials that will make your clients look cool this summer.
Dot French Multi-Colored
What better way to show off your summer glow than with a bright, white polish? !
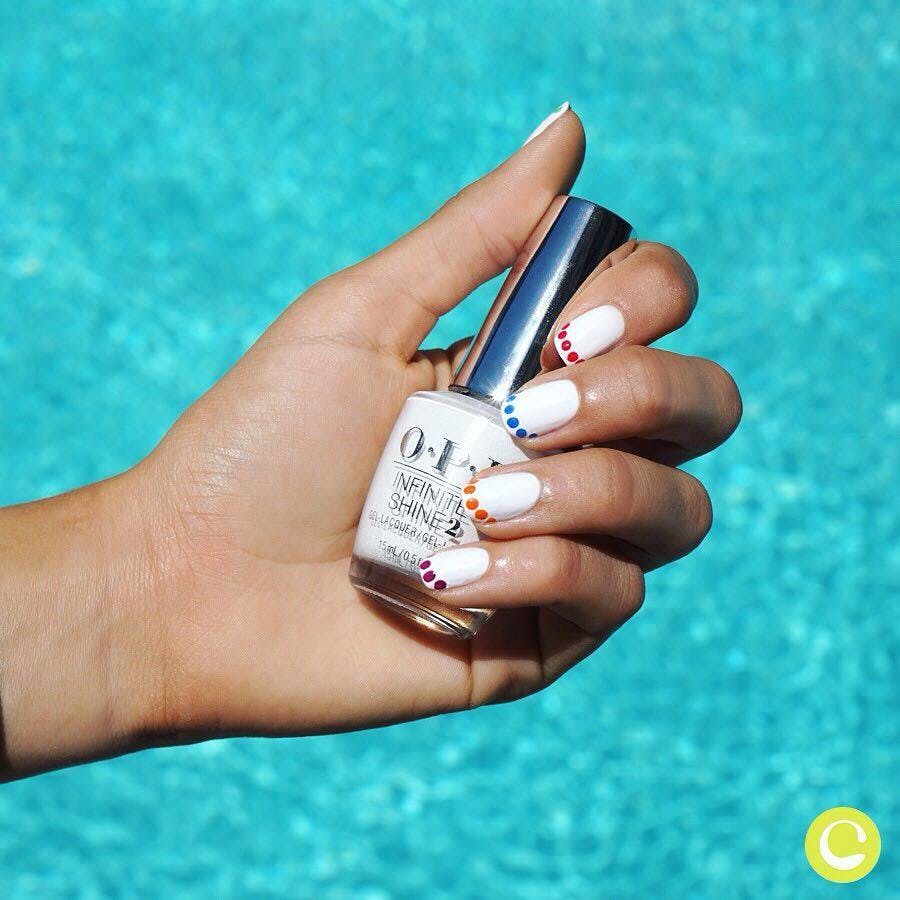
- For this look, you will need to complete the cuticle treatment and then begin shaping your nails into an oval square shape. This is also called “squoval.” This nail shape with a squared edge and rounded top will give you the perfect base for this manicure.
- Allow the nail polish to dry between coats.
- Take a dotting instrument and dip it in your vibrant polishes, one at a a time. Alternate colors between each nail.
- After you’ve placed the color on the tool, lightly mark the edge of the nail bed. Leave a little space between dots. Continue the process until your entire nail tips are covered.
- Finish the look by allowing your polish to fully dry. Add a cuticle oil and a topcoat for maximum shine.
Orange Florals
This summer, spice up your manicure with a fun and simple floral design. It’s perfect for any event!
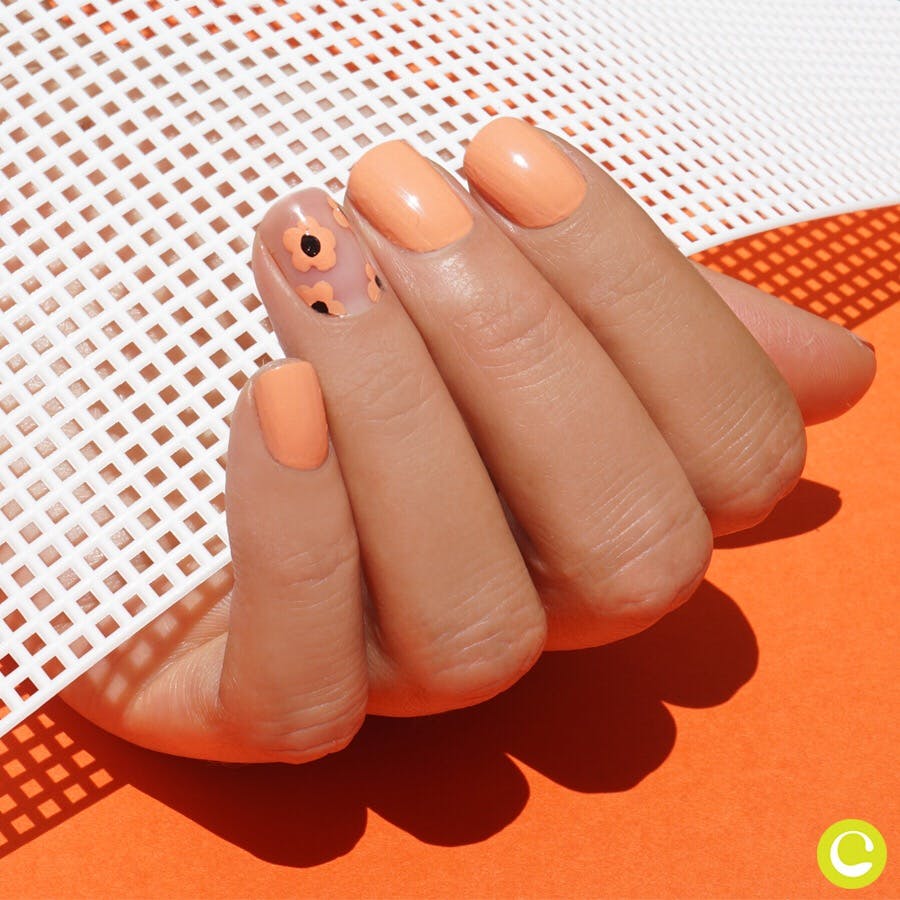
- Start by finishing cuticle care and then reshaping the nails to a “squoval shape”.
- Apply two coats of the bright orange polish you choose, leaving the ring fingers blank. Allow time for each coat to dry.
- Then, using the same orange nail polish, dot five dots around the circle, leaving very little space between them. The size of the flower depends on how much space is available on the nail. This can vary from person to person.
- Place the black dots in the middle of the flower design after you have placed the orange dots.
- Once dry, add cuticle oil to complete the look.
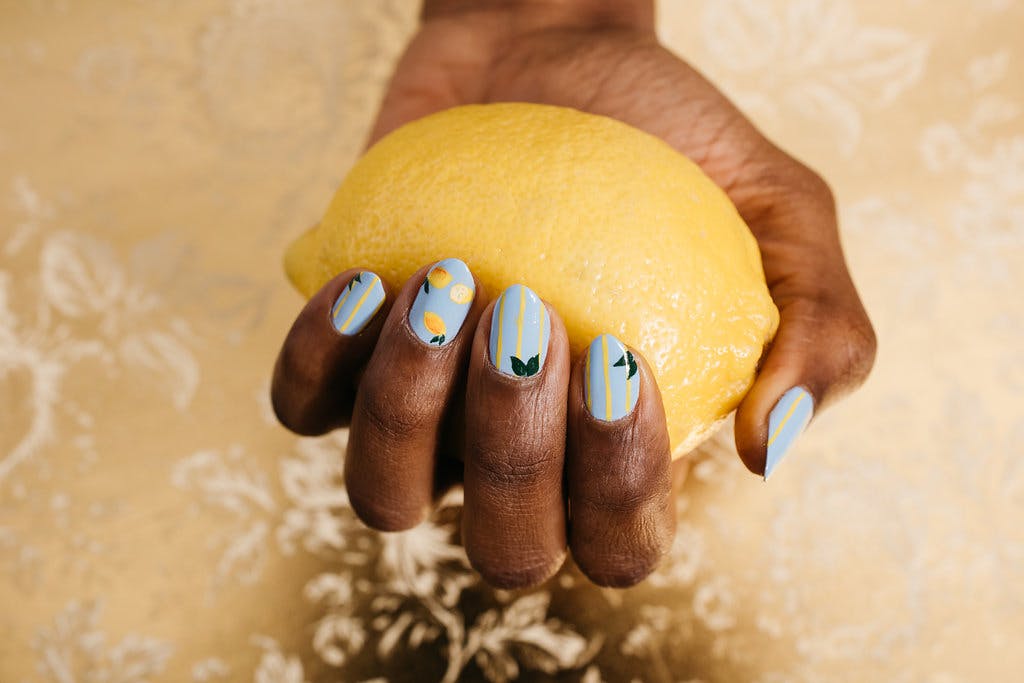
Geometric Print
This summer, cool down with a manicure that is reminiscent lemonade and watermelon!
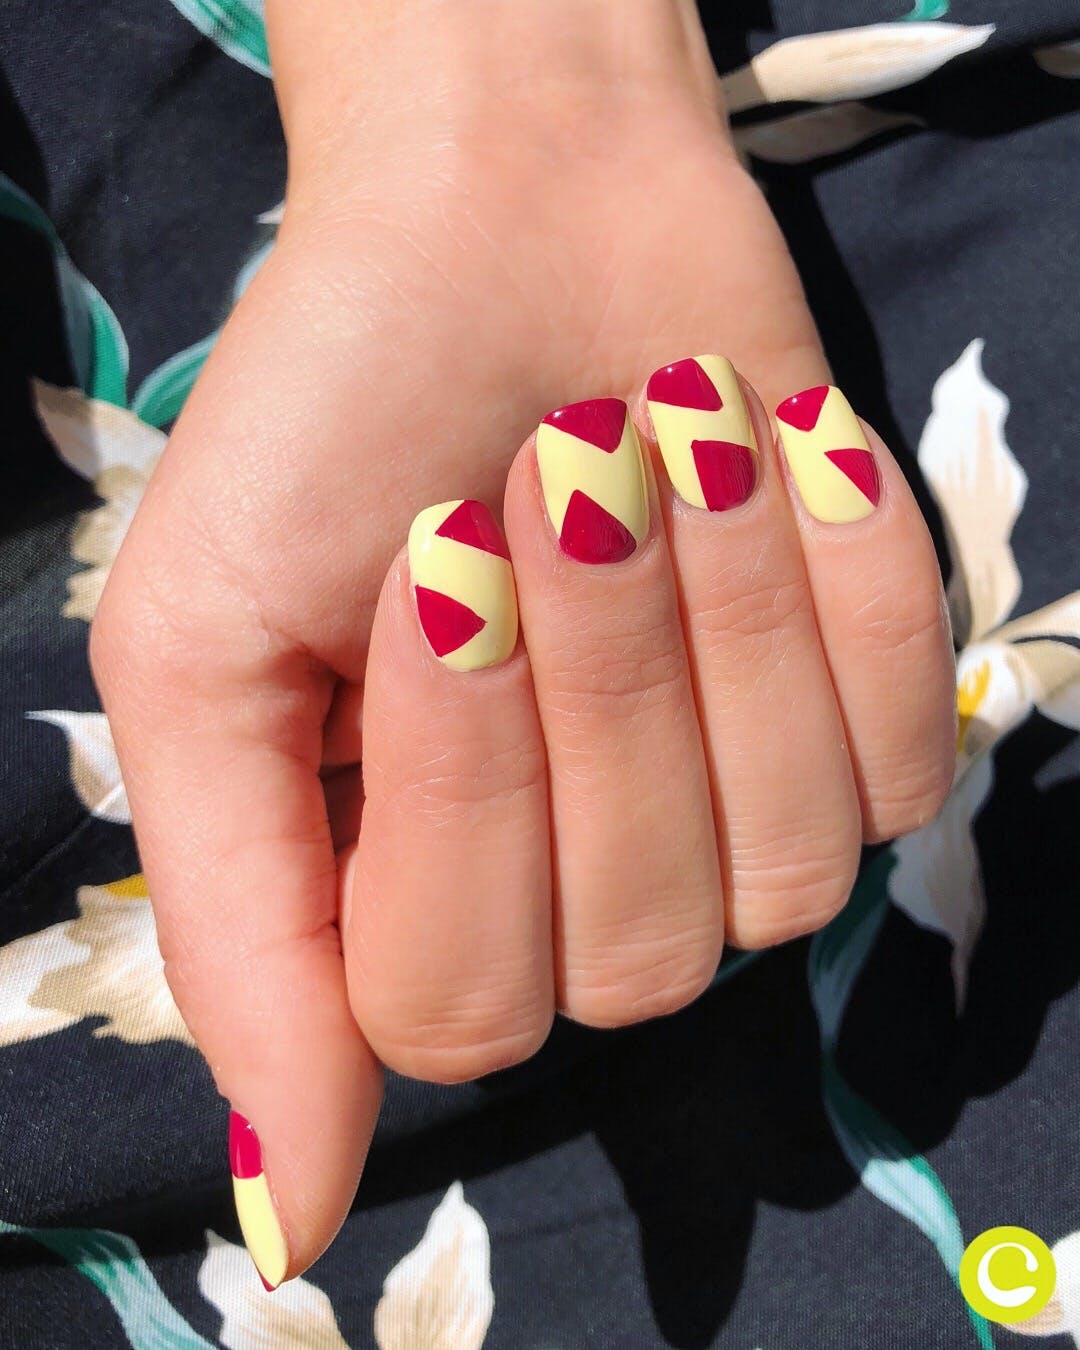
- Start by taking care of the cuticles and forming your nails into squares.
- Then, using a pale yellow polish, apply two coats evenly, allowing each coat to dry between them.
- After the red polish has dried, use a thin brush to lightly draw triangles in various positions on each nail. You can start these triangles at the bottom, top or sides of your nail bed.
- Fill in all the triangles after you’ve outlined them. Make sure there are no gaps.
- Apply a topcoat for maximum shine and cuticle oil to finish.